2. 增加 Email 通知
前往 PVE 後台
左側 pve ➝ 命令列
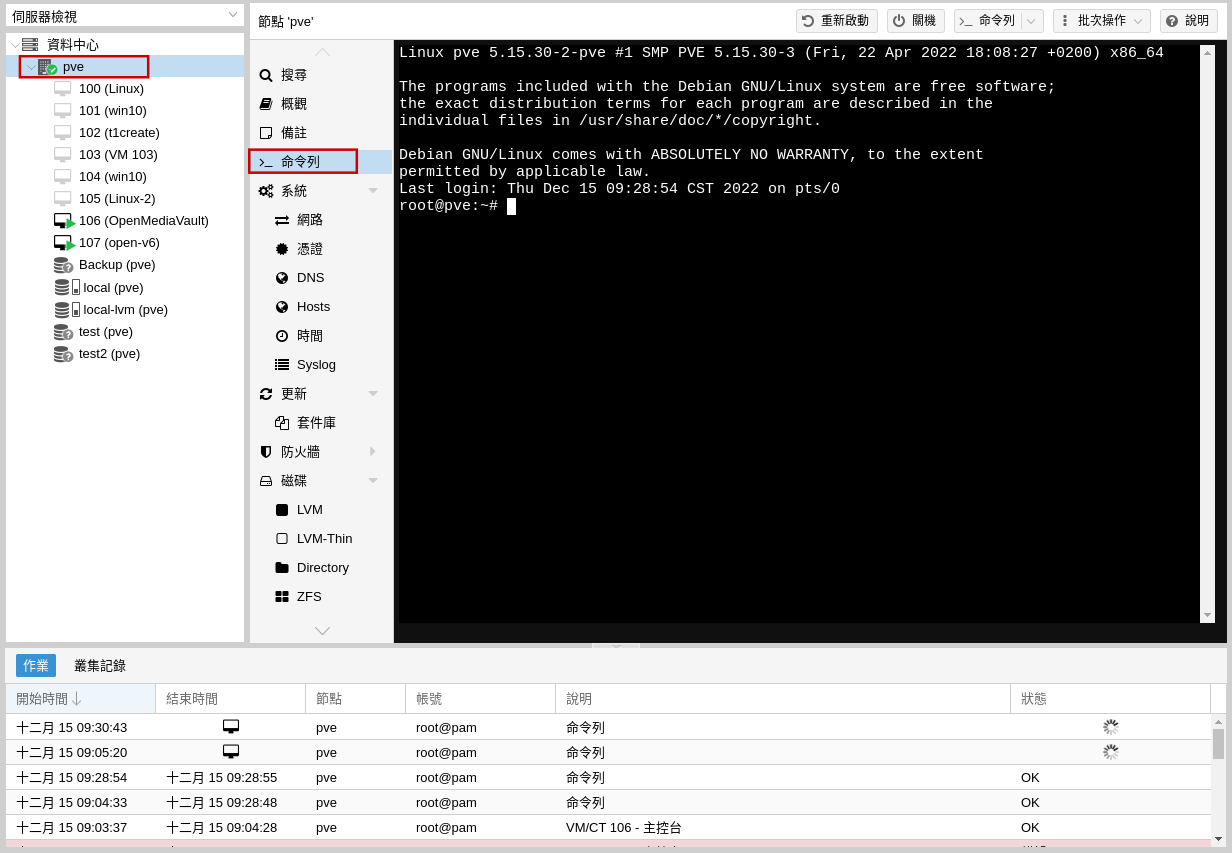
安裝必要的套件服務
輸入 apt install libsasl2-modules postfix-pcre
安裝完後輸入 vim /etc/postfix/main.cf 編輯這個檔案
myhostname=tn2-pve-03.local
# appending .domain is the MUA's job.
append_dot_mydomain = no
# Uncomment the next line to generate "delayed mail" warnings
#delay_warning_time = 4h
alias_maps = hash:/etc/aliases
alias_database = hash:/etc/aliases
mydestination = $myhostname, localhost.$mydomain, localhost
#relayhost = 將這裡註解起來不要用
mynetworks = 127.0.0.0/8
inet_interfaces = loopback-only
recipient_delimiter = +
新增以下的內容
smtp_use_tls = yes
smtp_sasl_auth_enable = yes
smtp_sasl_password_maps = hash:/etc/postfix/sasl_passwd
smtp_tls_CAfile = /etc/ssl/certs/ca-certificates.crt
#mydestination = $myhostname, localhost.$mydomain, localhost
新增檔案
編輯完後輸入 vim /etc/postfix/sasl_passwd
在輸入 gmail 的帳號及密碼
smtp.gmail.com:587 是郵件伺服器及端口
test@test.com 是 Gmail 帳號 (要輸入自己的)
Gmail 帳號的冒號後面是密碼
範例 : smtp.gmail.com:587 test@test.com:cjidjsiofkf
※如果你的 Gmail 帳號有開啟二步驟驗證 冒號 後的密碼必須輸入 Google 的應用程式密碼※
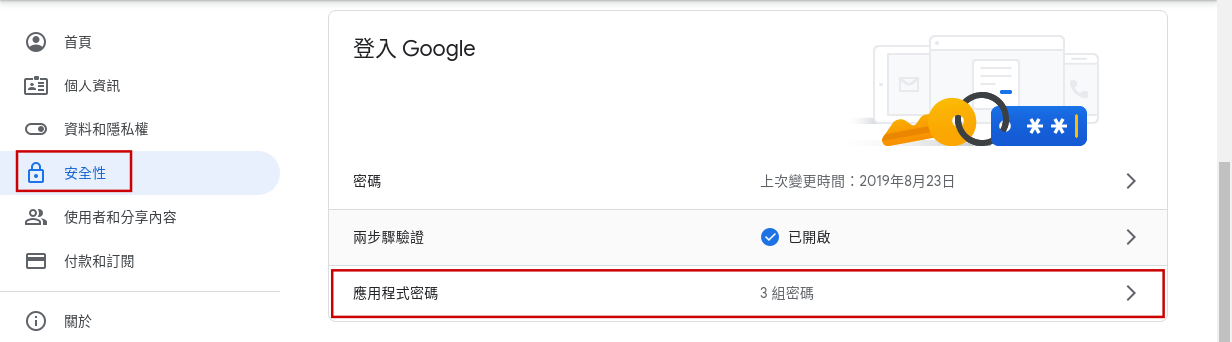
Google 應用程式密碼
前往 Google 帳戶頁面
左側 安全性 ➝ 應用程式密碼
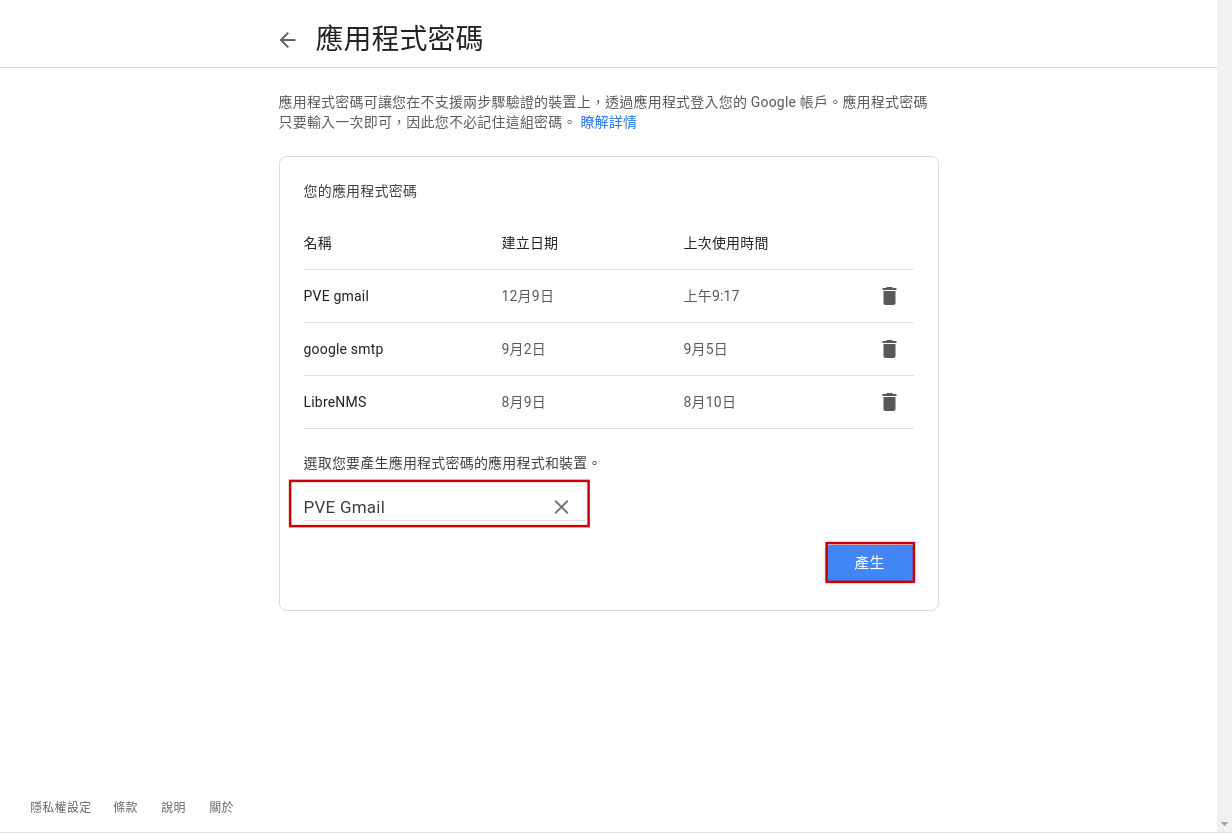
輸入完名子後點擊產生
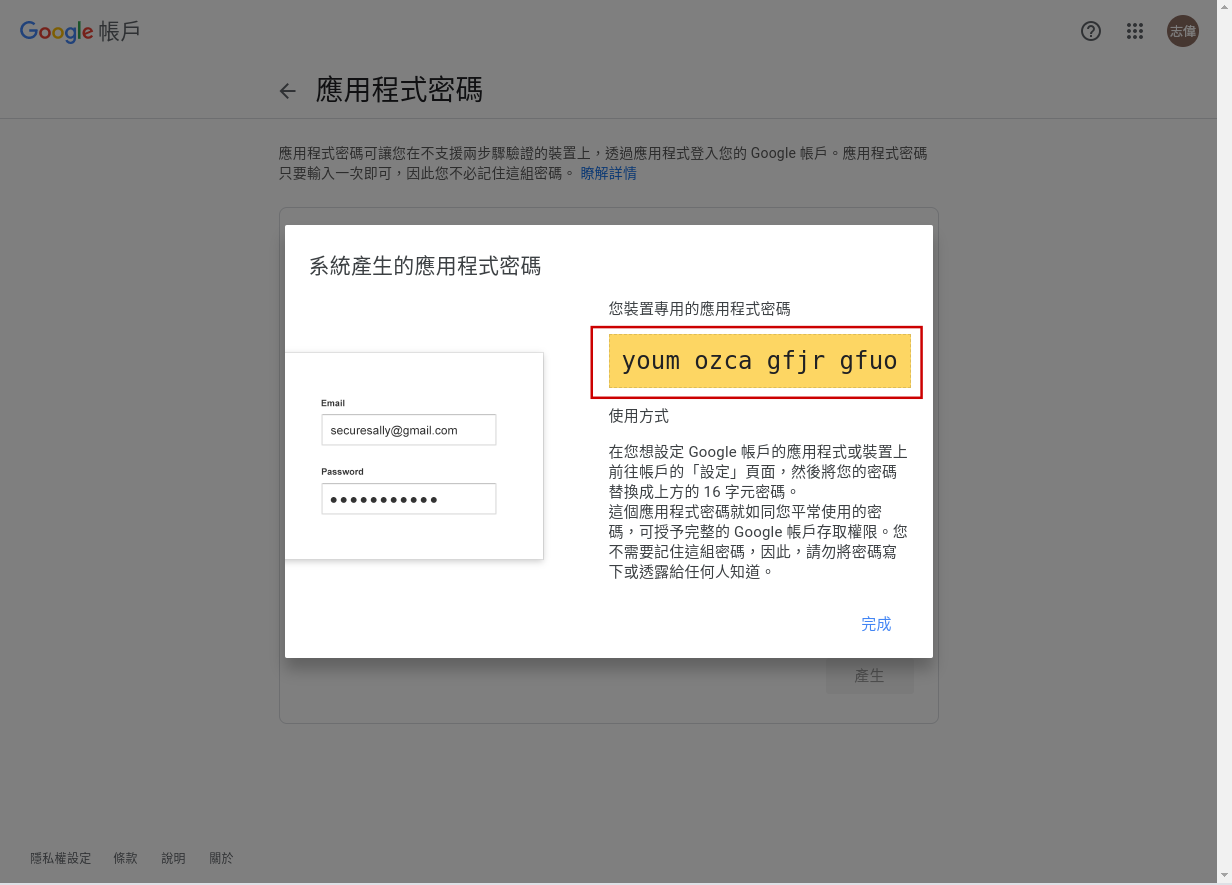
紅框內的密碼就是冒號後面要輸入的
執行檔案
輸入 postmap /etc/postfix/sasl_passwd
設定權限
輸入 cd /etc/postfix
輸入 chown postfix sasl_passwd*
重啟服務
輸入 systemctl reload postfix
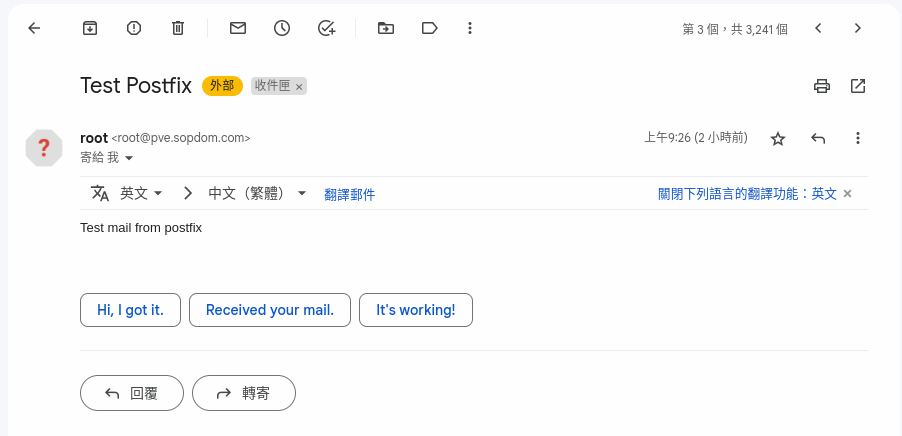
測試寄信功能
下方的 test@test.com 要輸入收件人的 gmail
echo "Test mail from postfix" | mail -s "Test Postfix" test@test.com
查看測試信件
備份成功及失敗時寄信測試
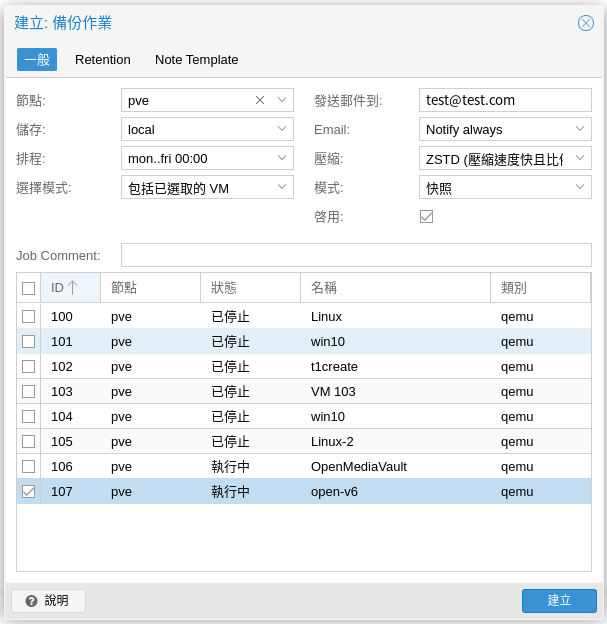
設定排程
左側 資料中心 ➝ 備份 ➝ 增加

節點 : pve
儲存 : local
排程 : mon..fri 00:00 (週一至週五 00:00)
選擇模式 :包括以選取的 VM
發送郵件到 : 填寫收信者的 Email
Email : Notify always (不管成功失敗都會寄信)
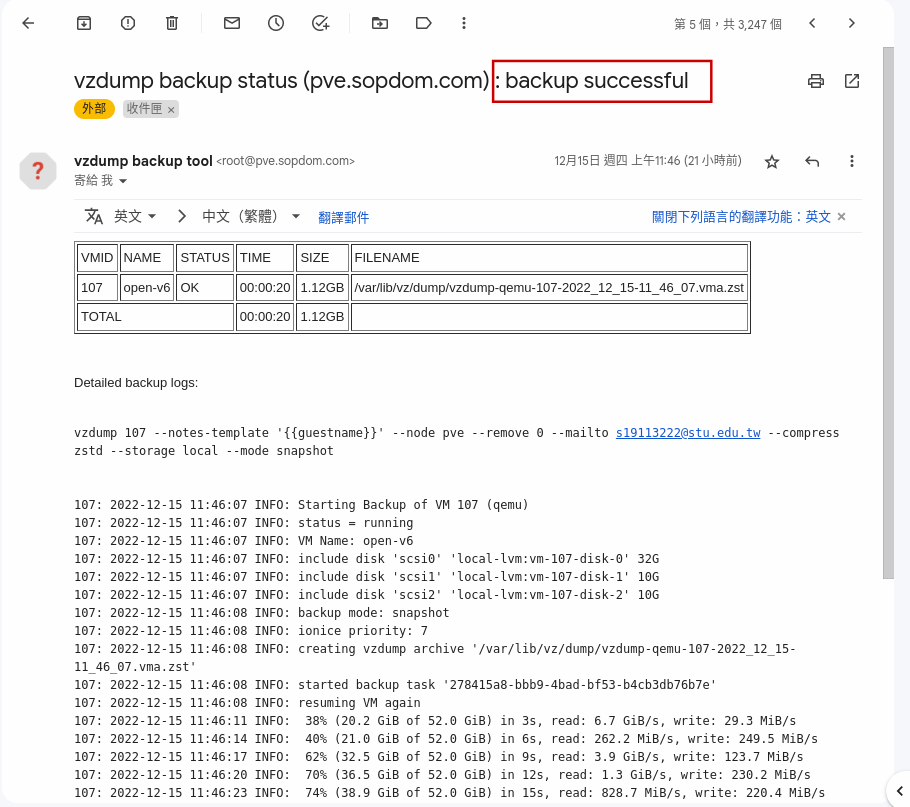
備份成功
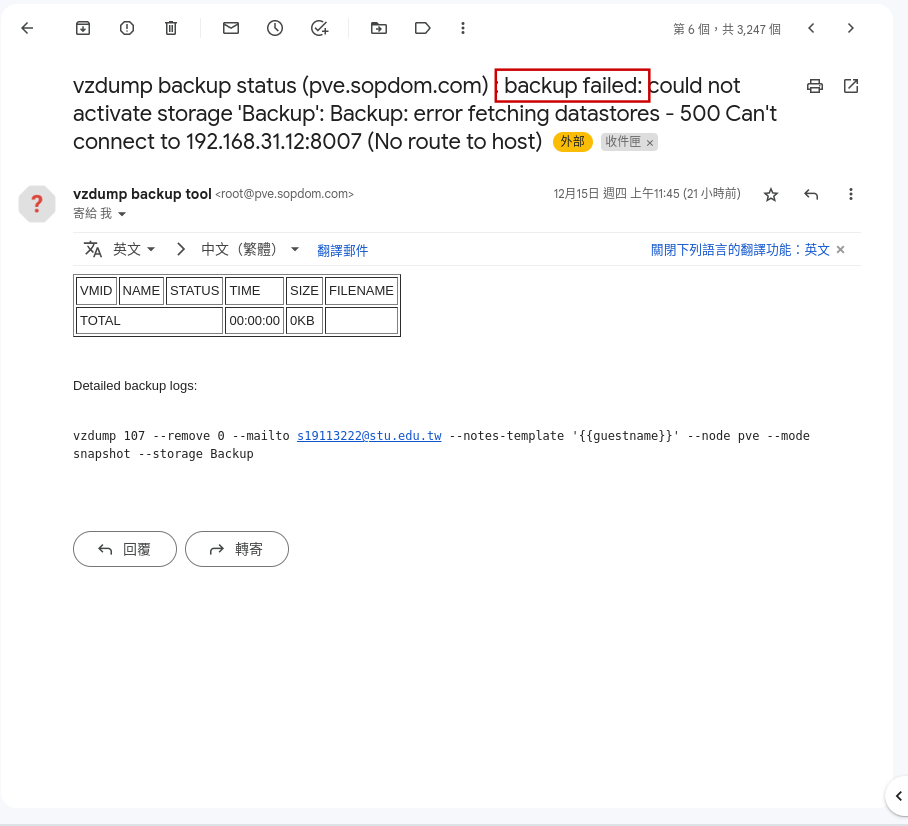
備份失敗
No Comments